
The Cricut Explore Air 2 is an easy-to-use machine that allows users to cut their designs. The users will be able to cut the design on many different materials. Sometimes, users will face difficulty getting the best performance out of it. When the Cricut is not performing well, it is time to calibrate the machine. Calibration can be a simple process, gauging your blade’s accuracy. It also gives more precise cut lines and better crafting results. Let us look at the steps on how to calibrate Cricut Explore Air 2.
Calibrating the Cricut Explore Air 2 on Your Windows PC
You can use Design Space on the Windows system. If you want to calibrate the machine on Windows PC, follow these steps.
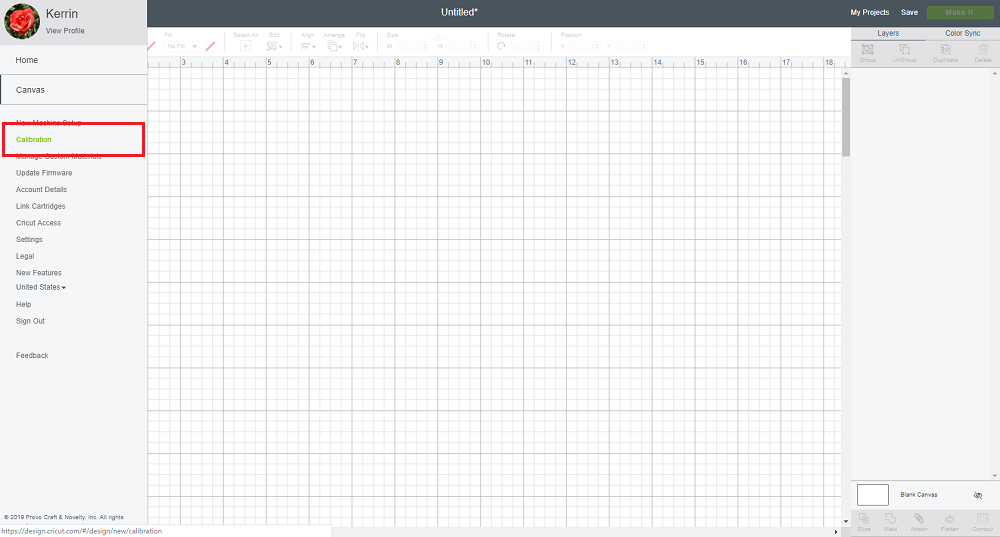
- In your Design Space canvas, select the icon with three horizontal lines in the upper left screen.
- You will see an expanded Cricut menu and then select the Calibration option.
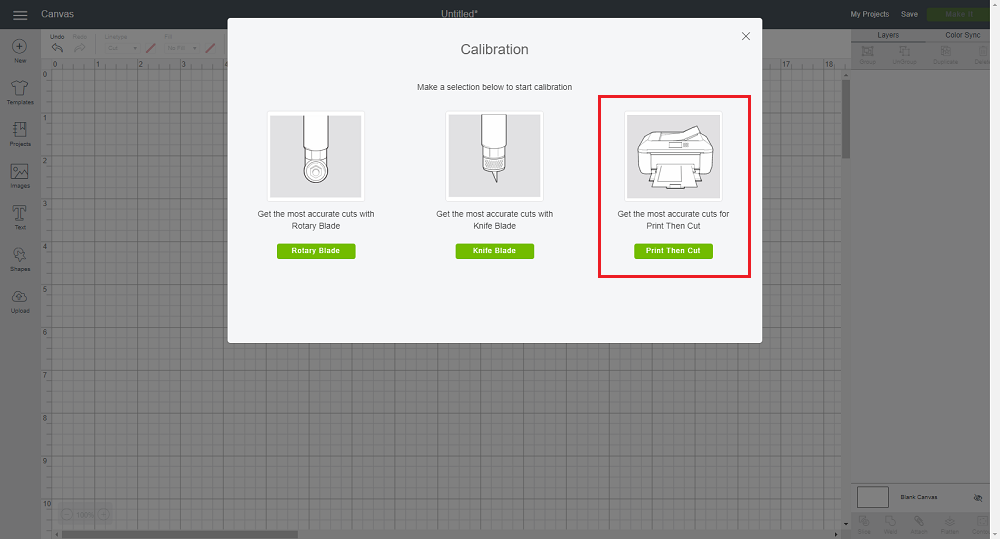
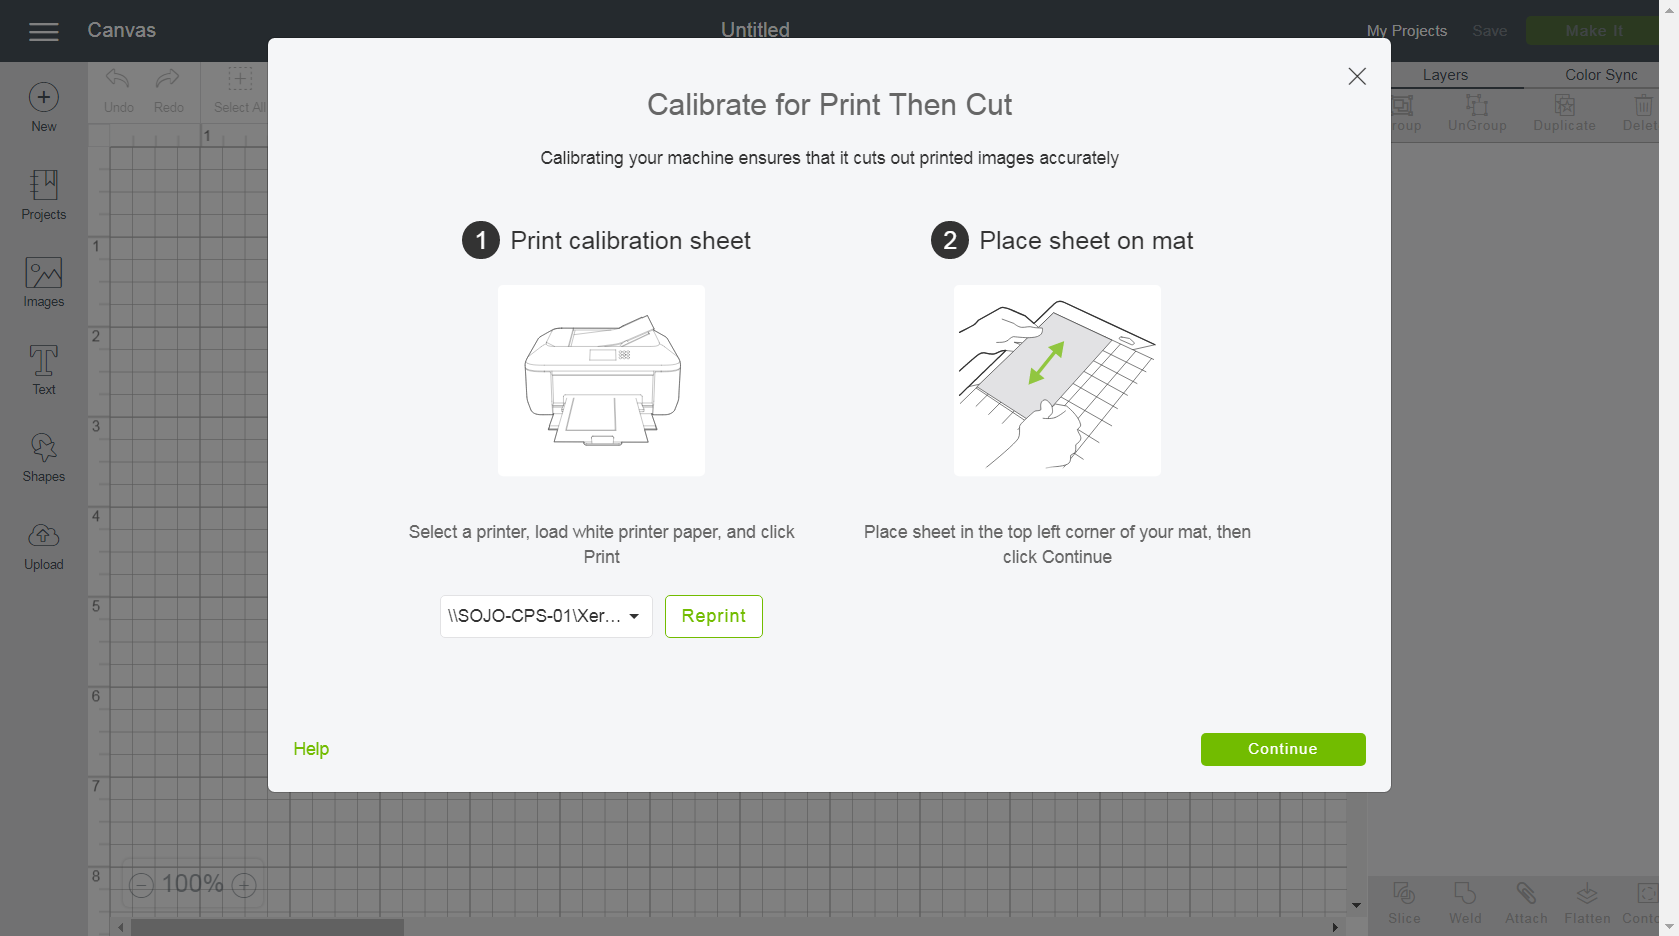
- Now, you must first Print Then Cut the calibration sheet using your printer.
- Later, place the sheet on a LightGrip mat. Here, it is important to keep squares and lines facing upwards.
- Next, select the Continue option and load the mat in your Cricut machine. And press the Go option.
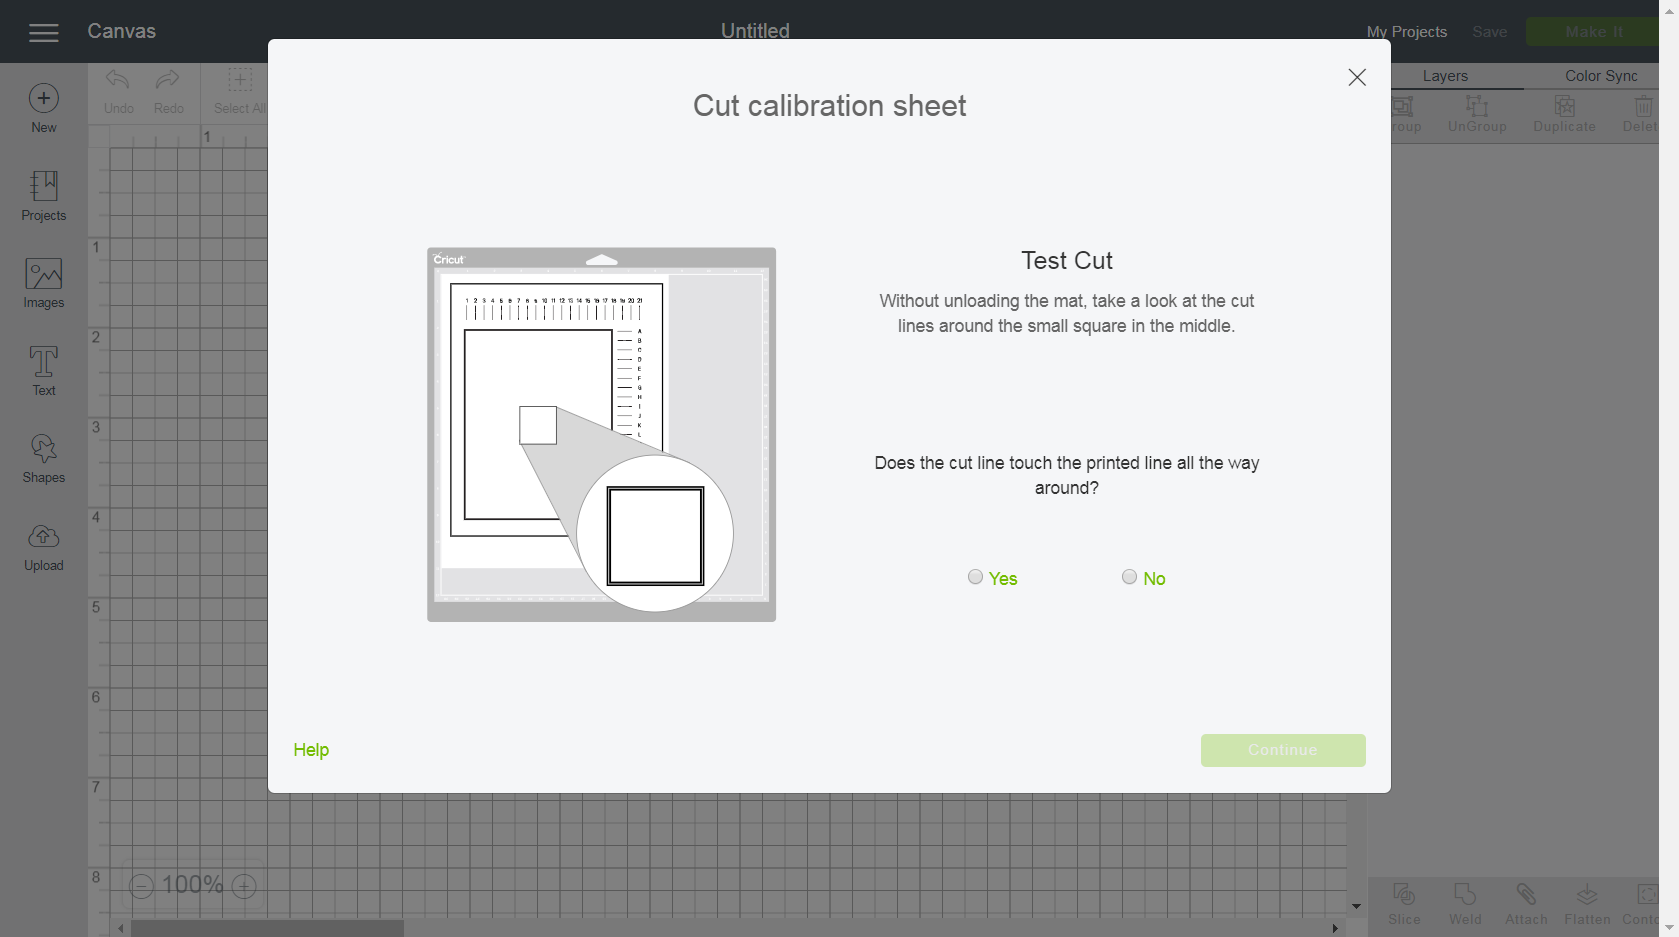
- Your Explore Air 2 machine will now scan the sheet for calibration markings.
- Once, the machine makes a small square at the center of the sheet. You must look at the cut without unloading the sheet off the mat.
- If the cut touches all the lines, select Yes in Design Space, then Continue to the next step.
- Now, the machine will begin the calibration cuts along the top and sides of the page. Repeat the same as the previous step.
- Later, the Design Space will ask you to select which number and letter cuts are closer to the center of the printed lines.
- You can indicate the line number or letter by going to the top and then the Right dropdown option.
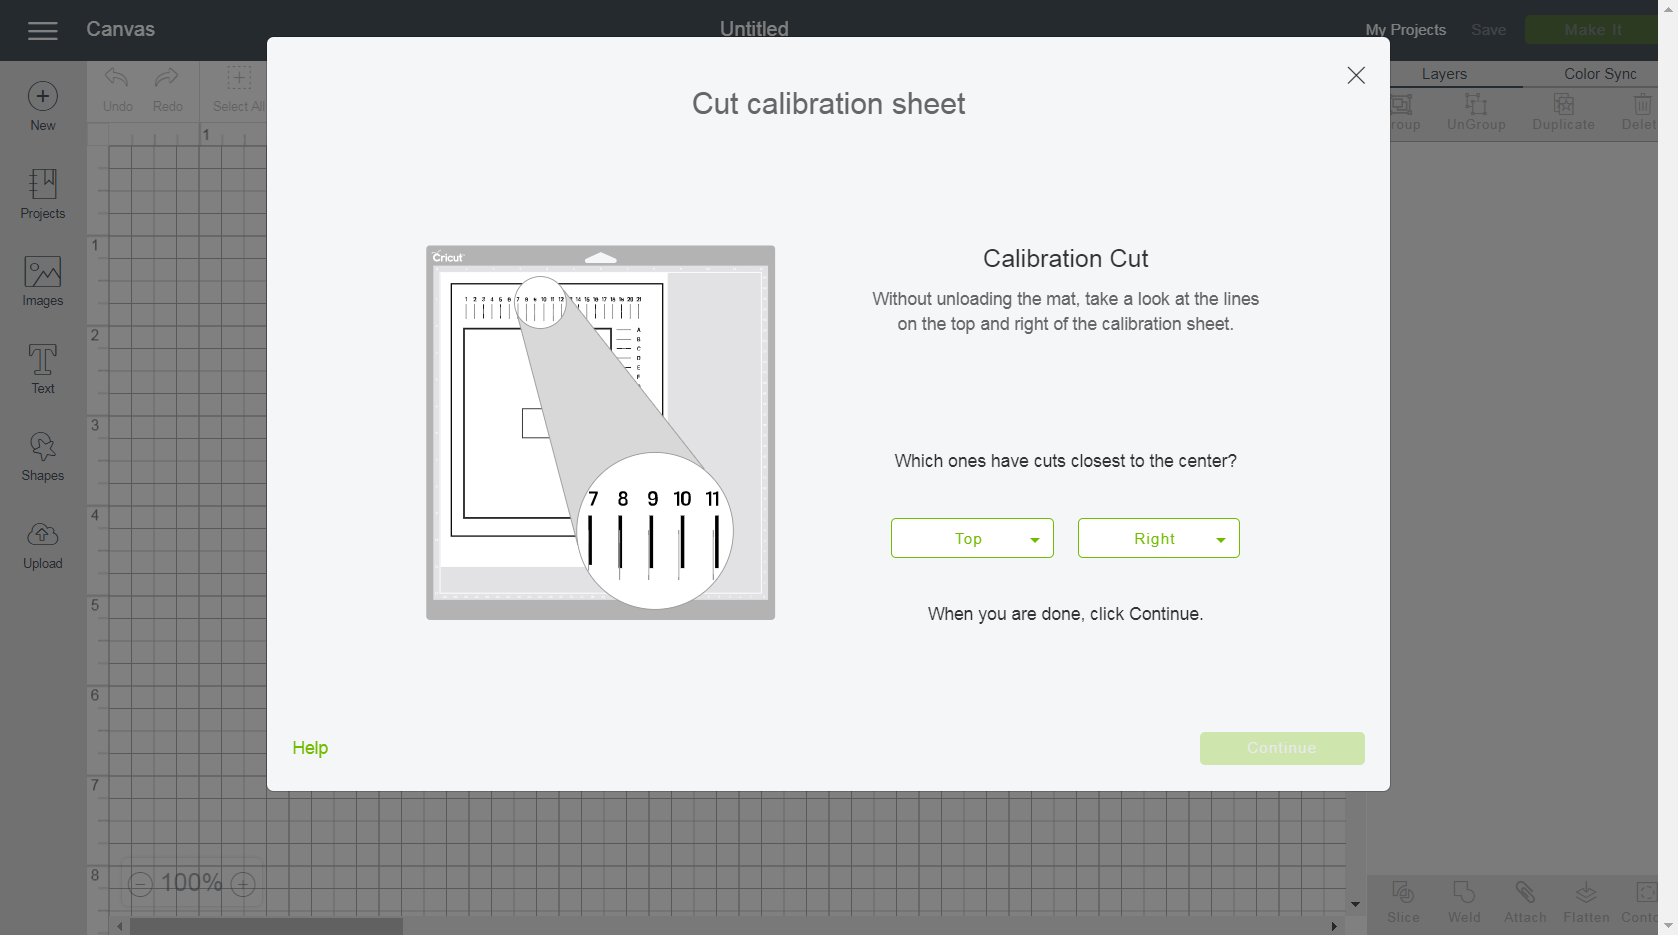
- When you are done selecting the line number or letter, choose Continue.
- Again the machine will perform a confirmation cut around the large rectangle on the sheet. After this, you can unload the mat and take off the sheet.
- Now, on the Design Space, it will ask if you are happy with the cut.
- If you are happy with the cut, then select Yes, and Continue to proceed with the final calibration screen.
- However, if you are unhappy with the calibration, select No and then redo the same process.
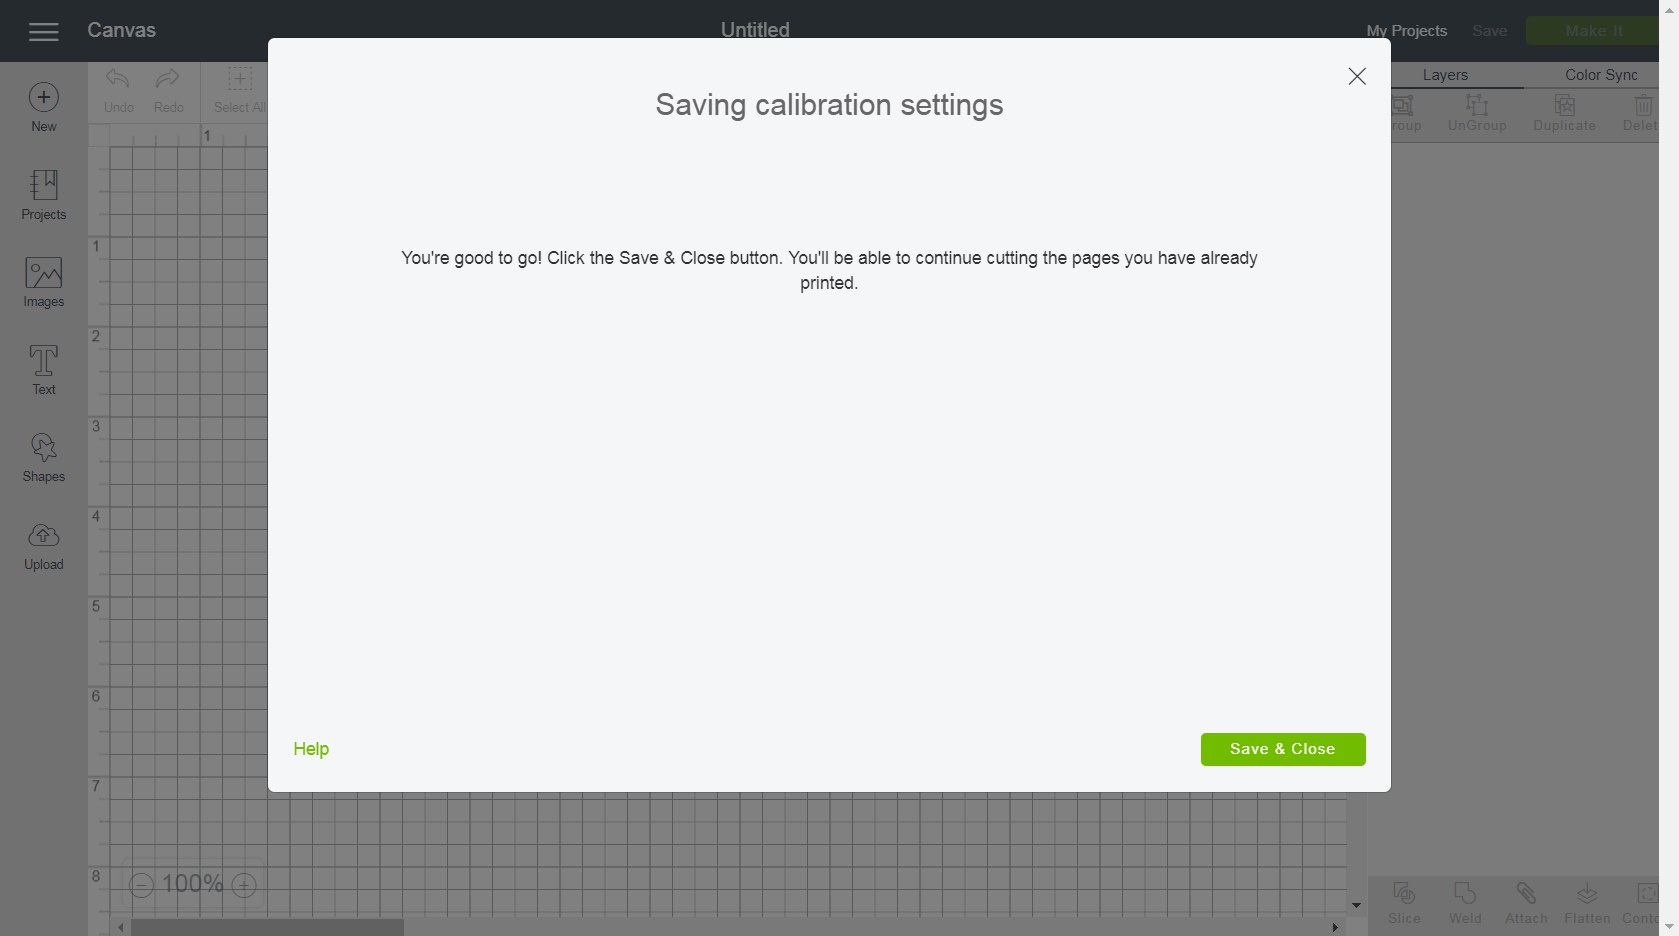
- Finally, you can save the calibration settings.
Calibrating the Cricut Explore Air 2 on Your iOS Device
You can calibrate from a computer and use the iOS Design Space app. This segment will examine how to calibrate cricut explore air 2 on iOS devices.
- First, open the app and sign in using your Cricut ID.
- After signing up, select the Account menu and the Print Then Cut Calibration option.

- Now, a Print Then Cut calibration window will appear.
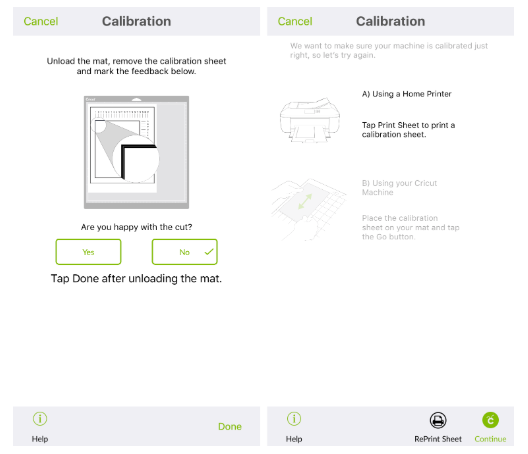
- The first step is printing out the calibration sheet using a normal printer.
- So. to print, select the Print Sheet option.
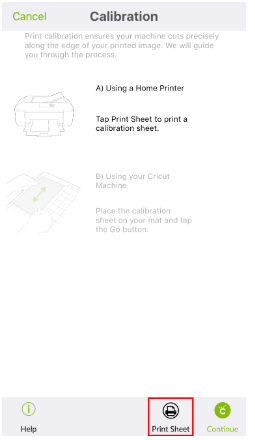
- Next, a new screen shows a purview of the calibration sheet.
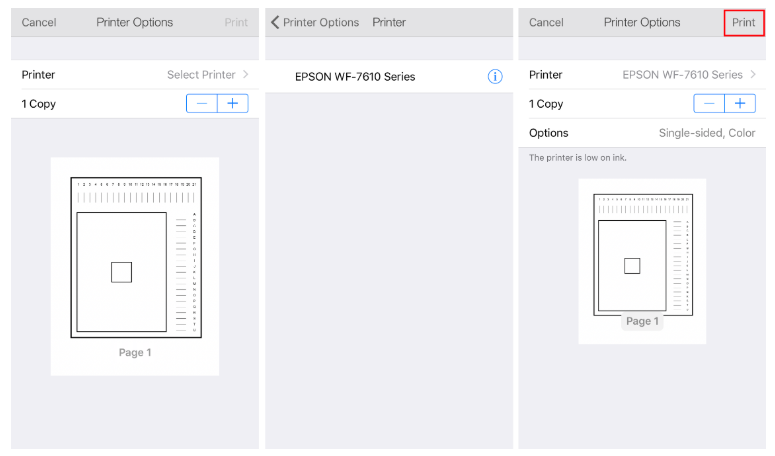
- If your printer is not selected, choose the option Select Printer.
- After selecting the printer, choose the option Print. Now, the printer will print a calibration sheet.
- Next, you should place the calibration sheet on top of the cutting mat. And place it in the top left corner of the mat and select Continue.
- Afterward, choose the appropriate material setting, and load the mat into the machine. And then select the option Go button.
- Now, the machine will start scanning the sheet for the calibration markings.
- Once the machine scans, it will cut a small square on the paper.
- After that, select Continue and go to the next step. And Air 2 will start the calibration cuts along the top and side of the page.
- Next, the app will request you to select which cuts are closer to the center of the printer lines. So, go to the top and select the number and letter of the line whose cut is closer to the center.
- Further, to proceed, select Continue.
- Afterward, the machine performs a confirmation cut around the rectangle on the paper.
- Now, you can remove the sheet and select Yes on Design Space if you are happy with the cut.
- Finally, select Done, and the app will save the calibration settings and return to the Home screen.
Conclusion
Sometimes, the cuts on the material are improper to the original design. It happens because the machine interprets the data differently. So, Calibration is important as it allows the Cricut machine to maintain its precision and accuracy while cutting. That is why this How to calibrate Cricut Explore Air 2 tutorial blog will help you understand the steps involved in calibrating.
FAQs
Why can’t the Explore Air 2 machine read sensor marks?
If you are using glossy paper, the machine might not be able to read the sensor markings properly. Instead, you can use matte paper if you notice any streaks forming around the cut sensor markings on your printed material. It might be mistaken as a cut sensor marked by the Cricut machine.
What is the best way to realign the Explore Air 2?
The best way to realign the machine is to select the Auto-Calibrate. For this, go to the top left-hand physical button and select the Start Calibration button on the screen. Now, you can see Advanced Alignment options on the Design Space. On this, remove the check mark button next to Auto-Calibrate offsets. This is the best way to recalibrate the machine.
Should I calibrate a new Cricut Explore Air 2?
A new machine need not be recalibrated as it comes pre-calibrated when buying. However, if the machine is not cutting accurately, you need to recalibrate the machine. The calibration process ensures the machine gives the best cutting results for a long time. Also, for better maintaining the machine, time-to-time calibration is a must.
